
Right then, time for an update on my little green urban speed machine. Well when we left the action in the last post the bike was at last reasonably rideable and looked like this

And this is how it stayed for several months taking me to the shops and back, generally wizzing around the village I live in and providing far more fun than its incredibly tatty looks promised. There was however in the back of my mind the constant concern that the back wheel was going to grenade itself into self destruction at any moment. I’d been keeping a pretty close eye on the cracks around the spoke holes in the rim and had highlighted them with marker pen to see if they were getting any worse……. and some of them were definitely growing.
Then eBay which had got me into this mess in the first place came to my rescue, I’d had a saved search set since I’d picked up the bike for ‘Moulton Mini Wheels’ and finally my phone pinged me an alert telling me a new listing was active. In fact when I looked several new listings were live on the site all from the same seller who was according to the descriptions reducing his collection of Moulton spares having sold his bike several years ago. Not wanting to miss out I put speculative bids on the bits I needed and then went back to work for a few days and forgot all about it. (This tactic is I’ve found the safest way for me to interact with eBay now, I put what I’m prepared to pay on the auction and then I go no contact with the eBay app till its all over, this stops the temptation to get into bidding wars at the last gasp and end up massively over paying for things)
So when the dust had settled and the heat of the bay bidding wars were over it turned out I was actually the only person in the country seemingly after the bits required to upgrade the wheels on a Moulton Mini because I won all the auctions as the only bidder. A few days later all my purchases had arrived and I was now the proud owner of a completely new front wheel in the slightly bigger 305 diameter rim size, a pair of rare 305 size rims with 28 spoke holes and a set of Kenda 16′ x 1.50 tyres and inner tubes to match.(total cost including postage, less than £10) I dove back into eBay for a suitable rear hub and found an old Suntour track hub with the right 120mm width that would accept a screw on free wheel and I was all set.
Now I don’t build wheels, I’ve replaced the odd spoke over the years but it’s a skill I’ve never mastered. Luckily I know a man who does ….. so I gave my disparate set of odd bits to my friend Ian who usually builds big strong 29′ mountain bike wheels and waited. A little while later I got back what Ian described as the ‘oddest wheel he’d ever built.’ The small size and extreme dish required to get the rim central because I’d obviously supplied a hub designed for 700c wheels had meant poor Ian had really struggled to get this little monster built, but after a fair bit of head scratching and some experiments with lacing patterns and spoke length he’d pulled off a mini sized masterpiece and only wanted paying in beer for his time which is always a win in my book. (Thanks mate!)
The new bigger wheels went straight on and I was very relieved to find out that the Moulton experts on the internet were right and they did fit, only just mind but minimal clearance is still clearance!
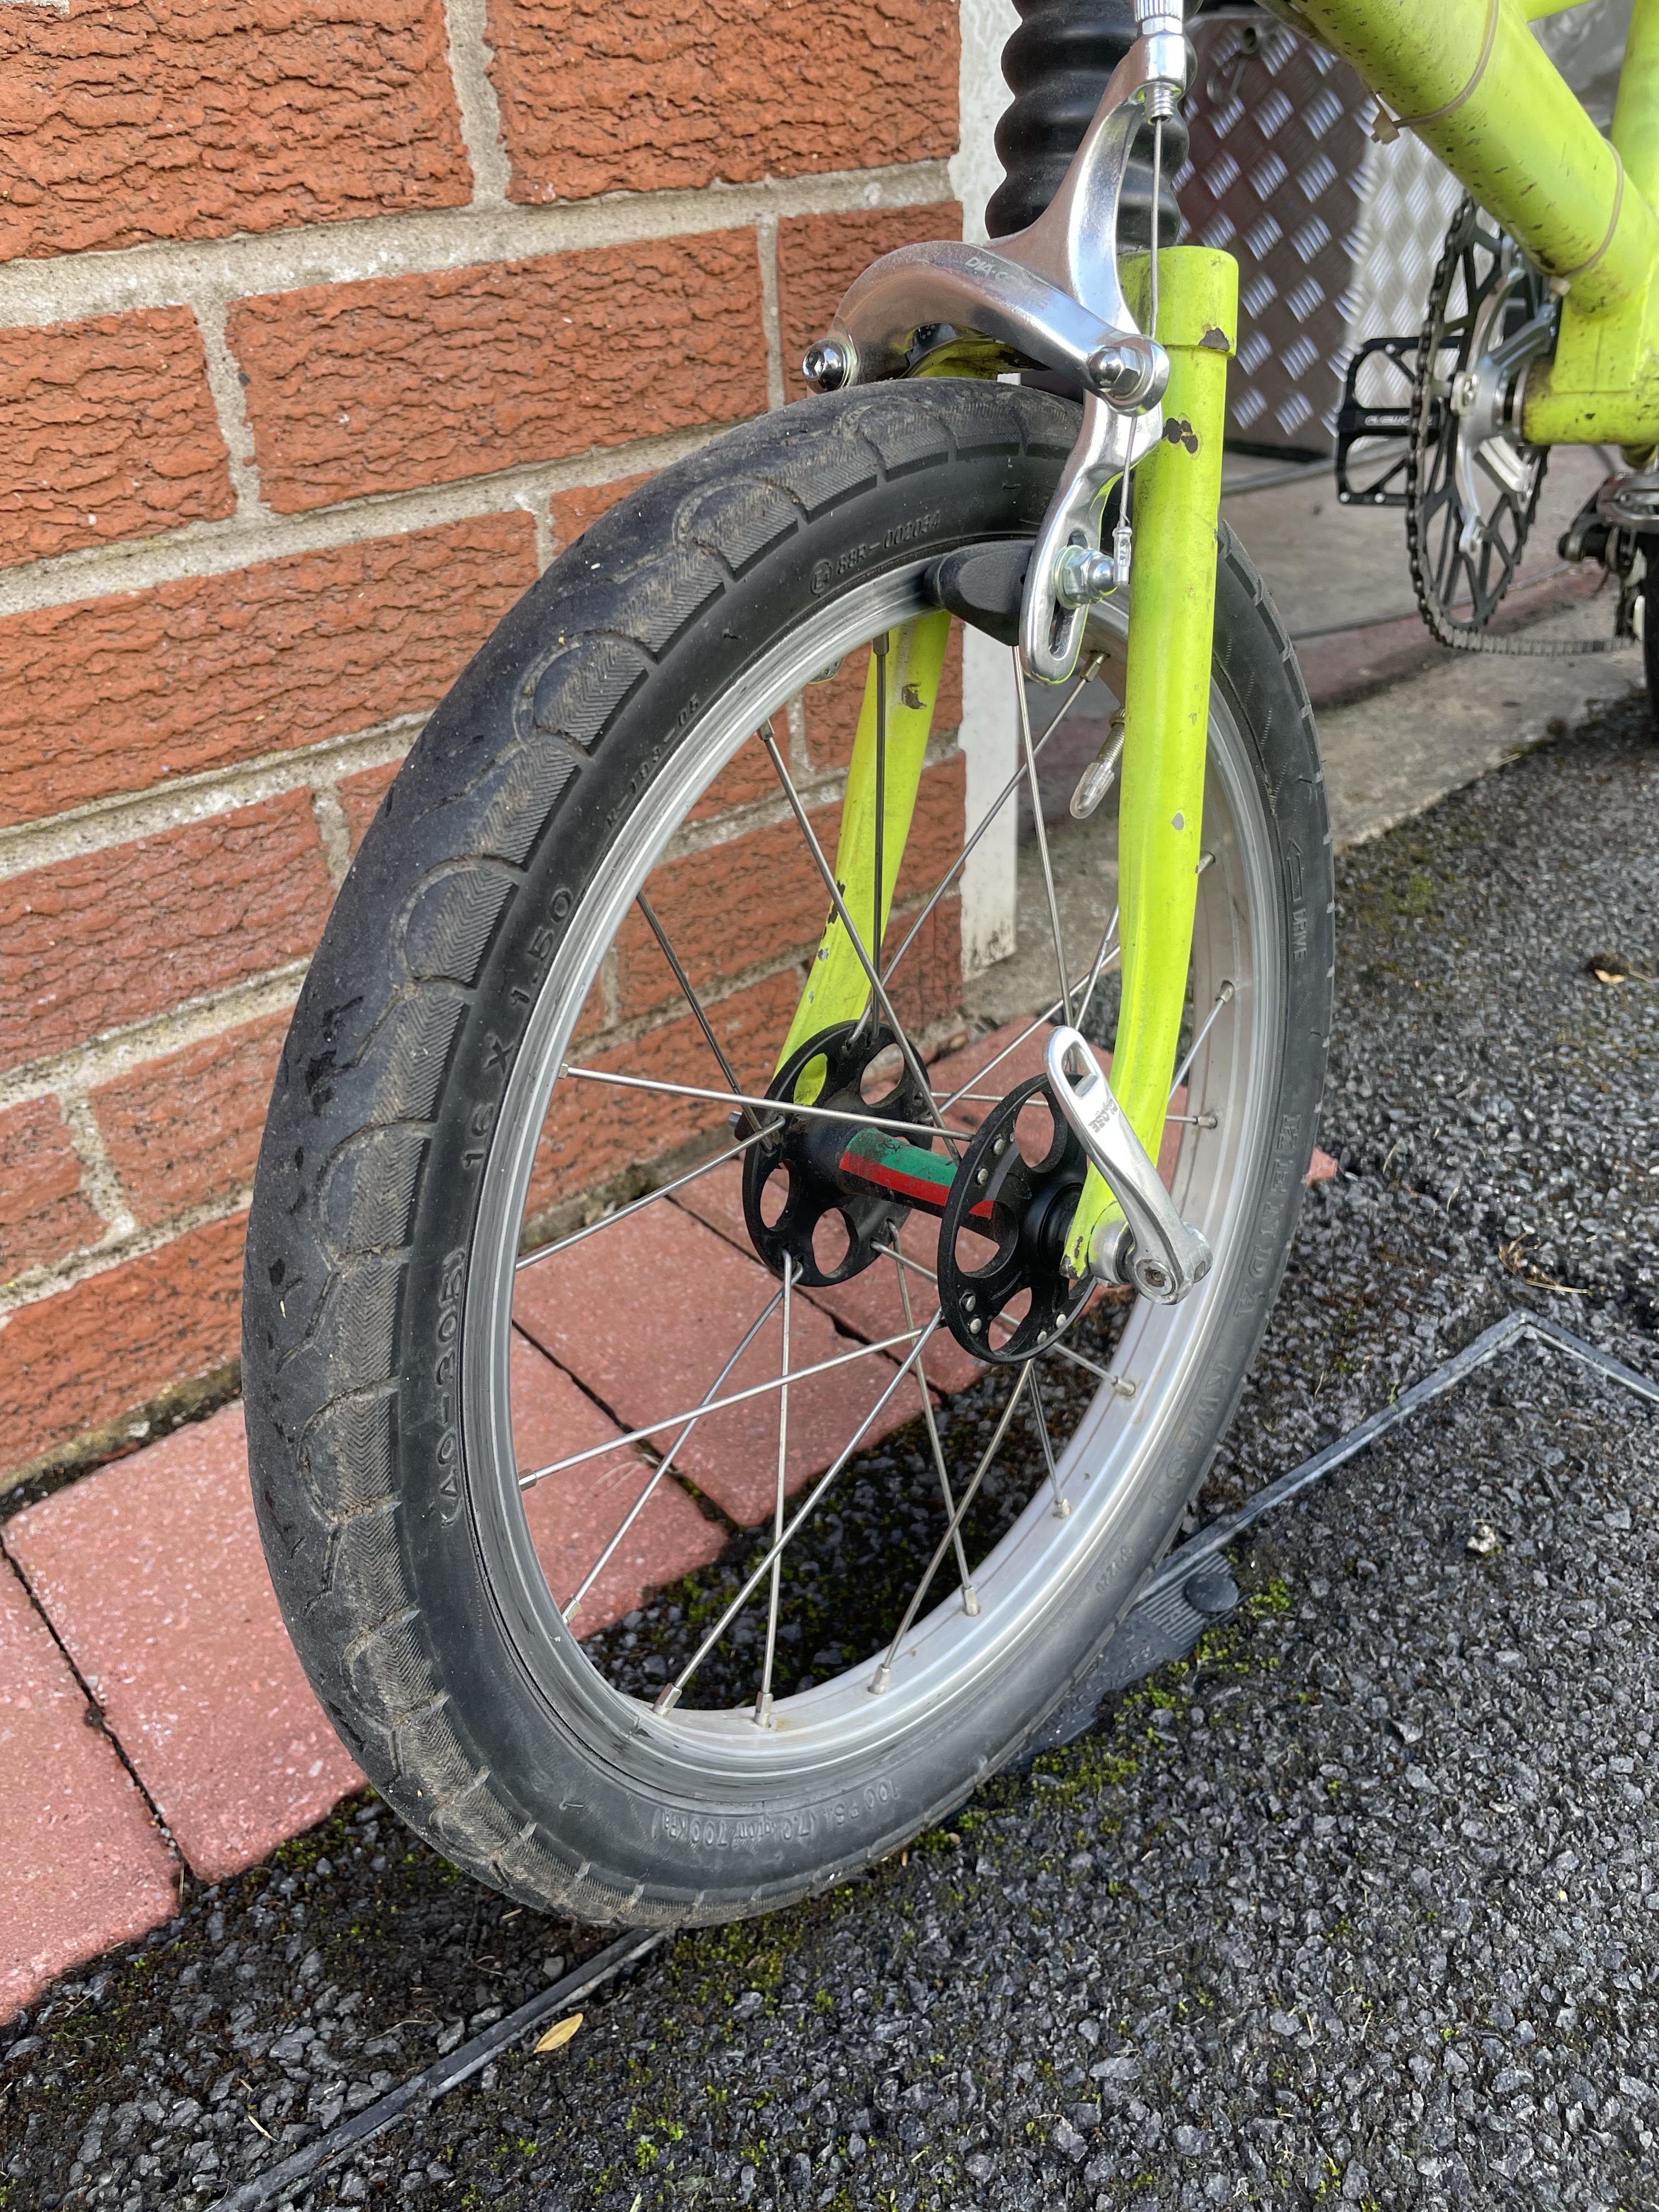
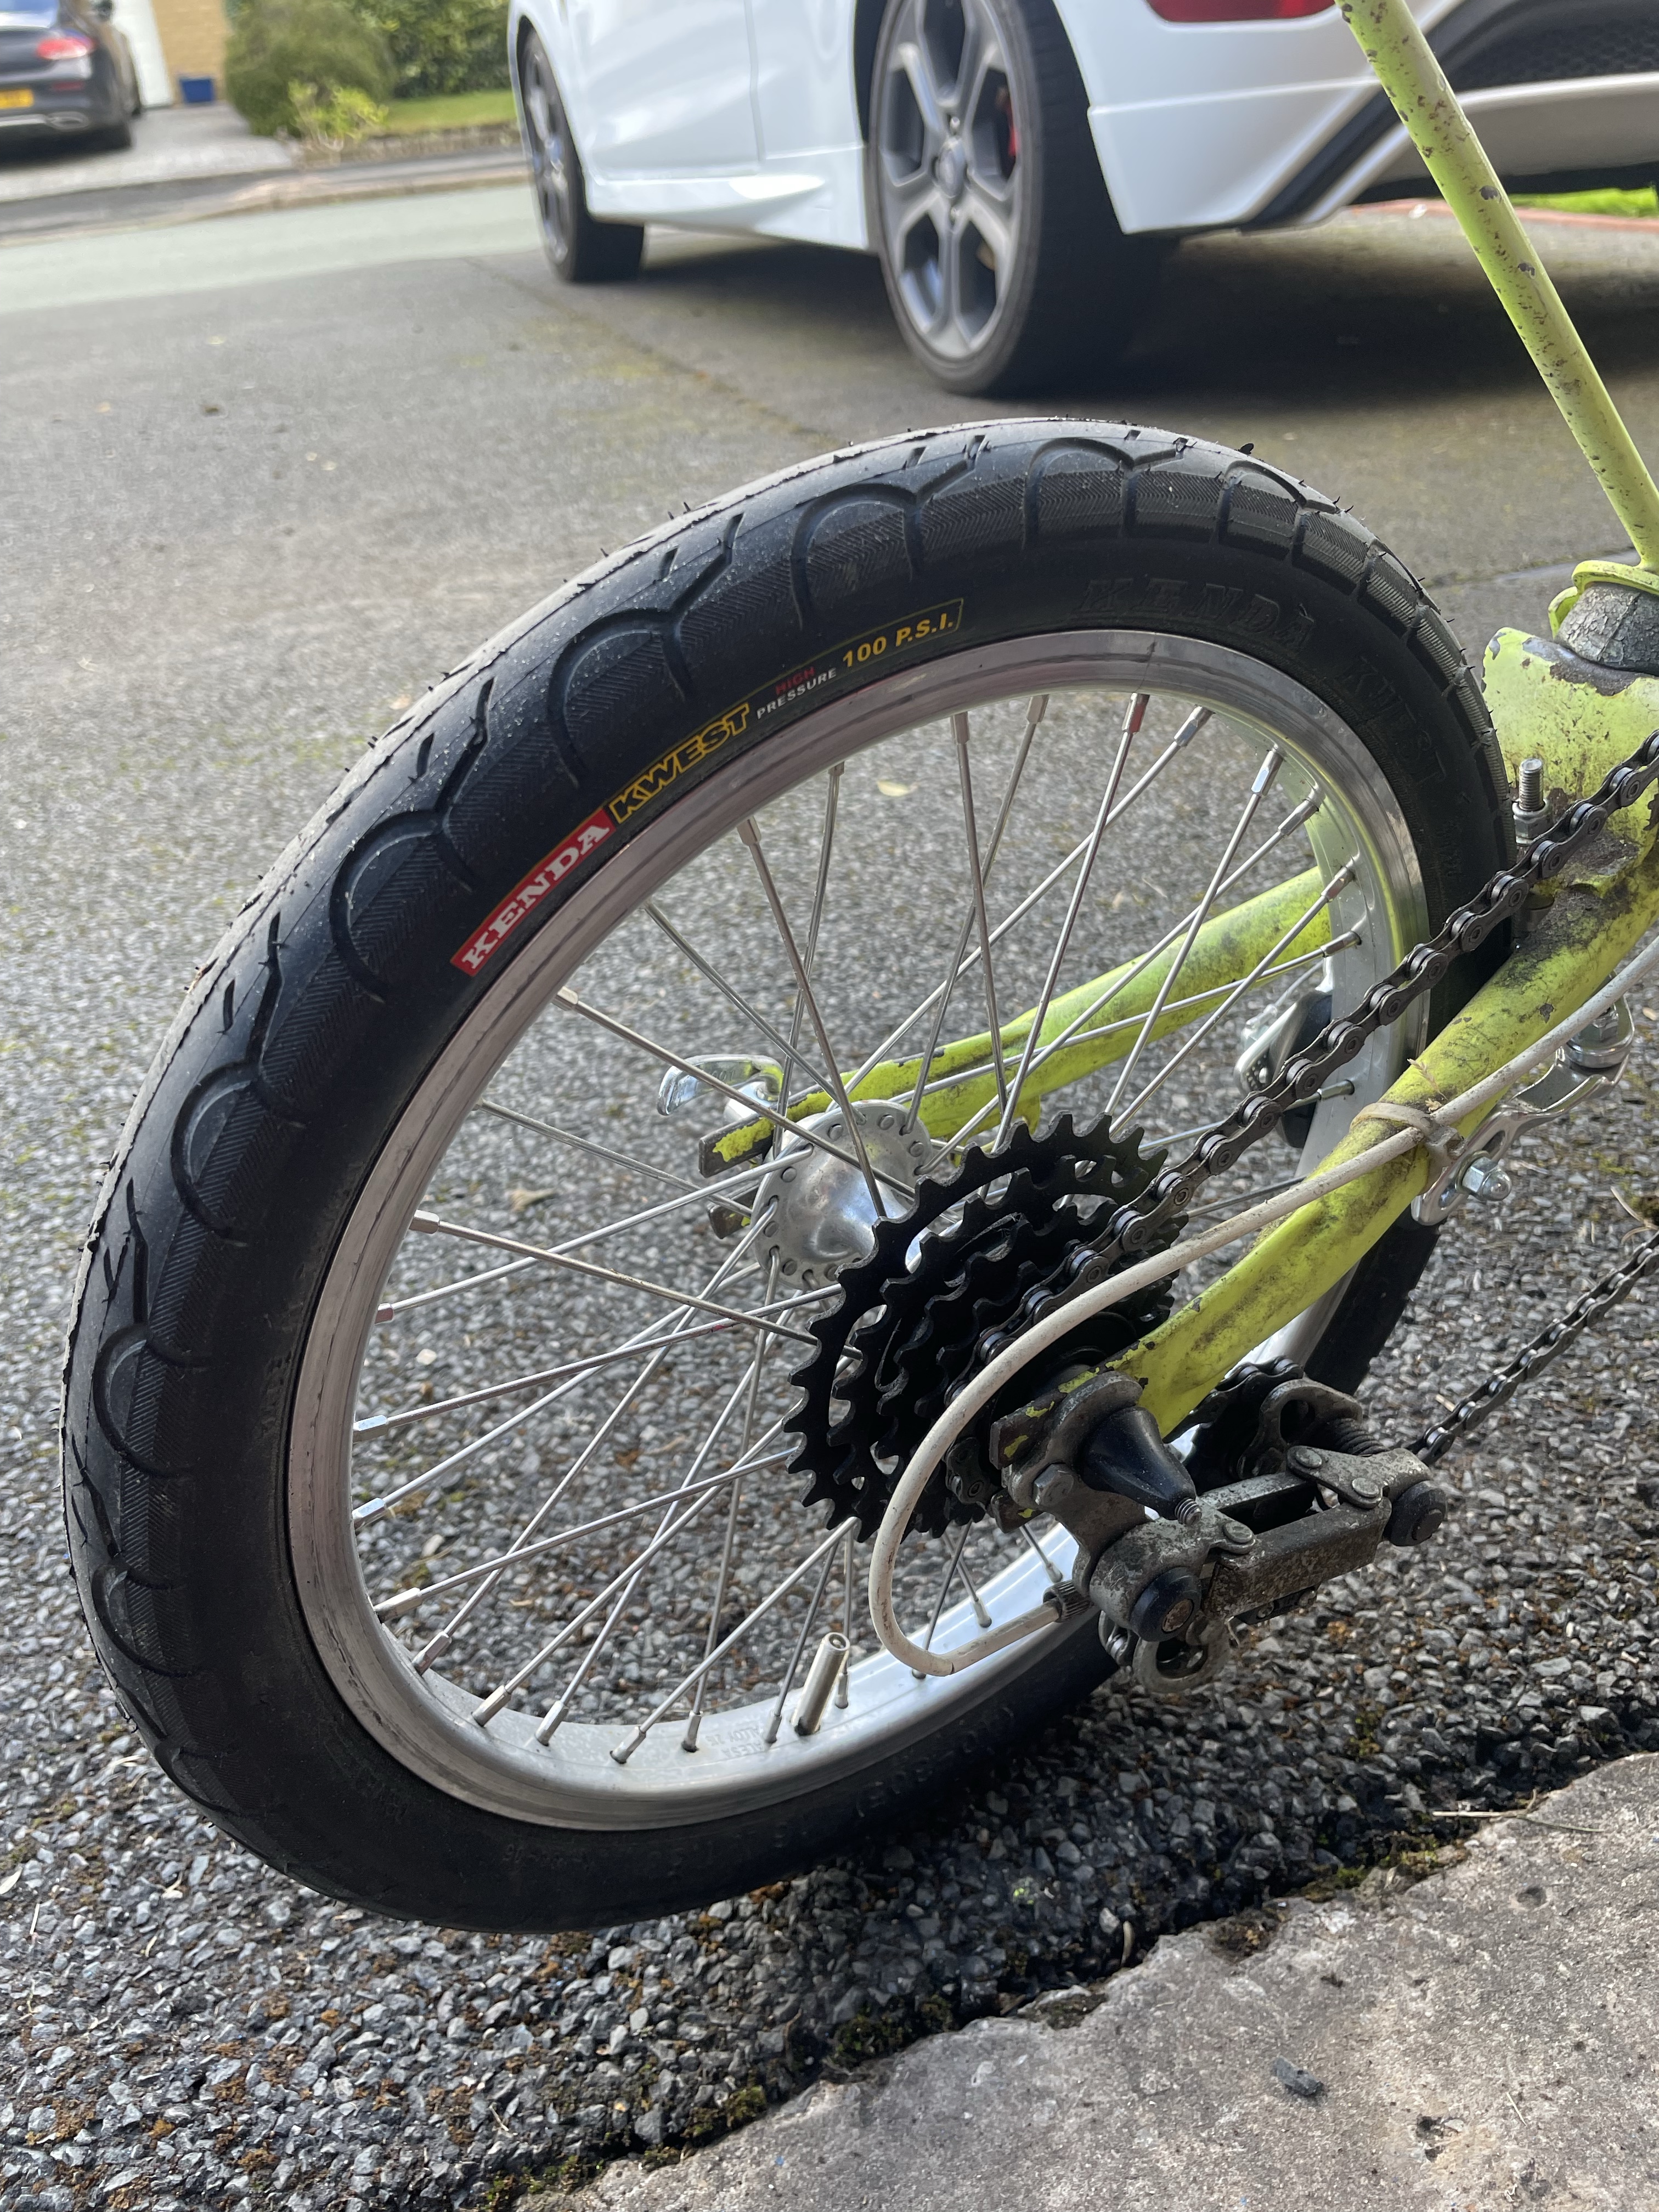
So how does it ride with its new super chunky wheels in place? even better than before! I’m sure some of this is down to my increased confidence in the bike now that I’m not half expecting the back wheel to disintegrate every time I pop it off a curb but the wider tyres and increased rolling diameter have helped the bike feel much more stable and also helped address the still pretty low gearing.
Now the bike was rolling well the next ‘upgrade’ I wanted to look at was the handlebar set up. I loved the look of the bike with its little super narrow vintage drop bars and brake levers, but I couldn’t shake the feeling it would be a better more usable ride with a flat bar set up, after all this is hardly an all day epic mile munching machine so having the drops was really a waste of time as I never used them. The box of miscellaneous bike spares I was sure I was going to need someday came up trumps with a 1″ quill mountain bike stem and a suitable straight handle bar that was vintage enough not to be ludicrously wide. I also had some spare grips but came up dry on the brake lever front. Back to eBay we went and a few days later the cheapest nastiest brake levers I’d ever seen turned up in the post. Alright, they were very cheap but these monstrosities were barely usable, they have been fitted for now because I wanted to get the Moulton ridable again but they will be coming straight off as soon as I get the time to source something better. In this case ‘but cheap , buy twice’ really is true.
Heres the Moulton rocking its new straight bar look, see I’ve even fitted a bell to be more socially responsible 😁

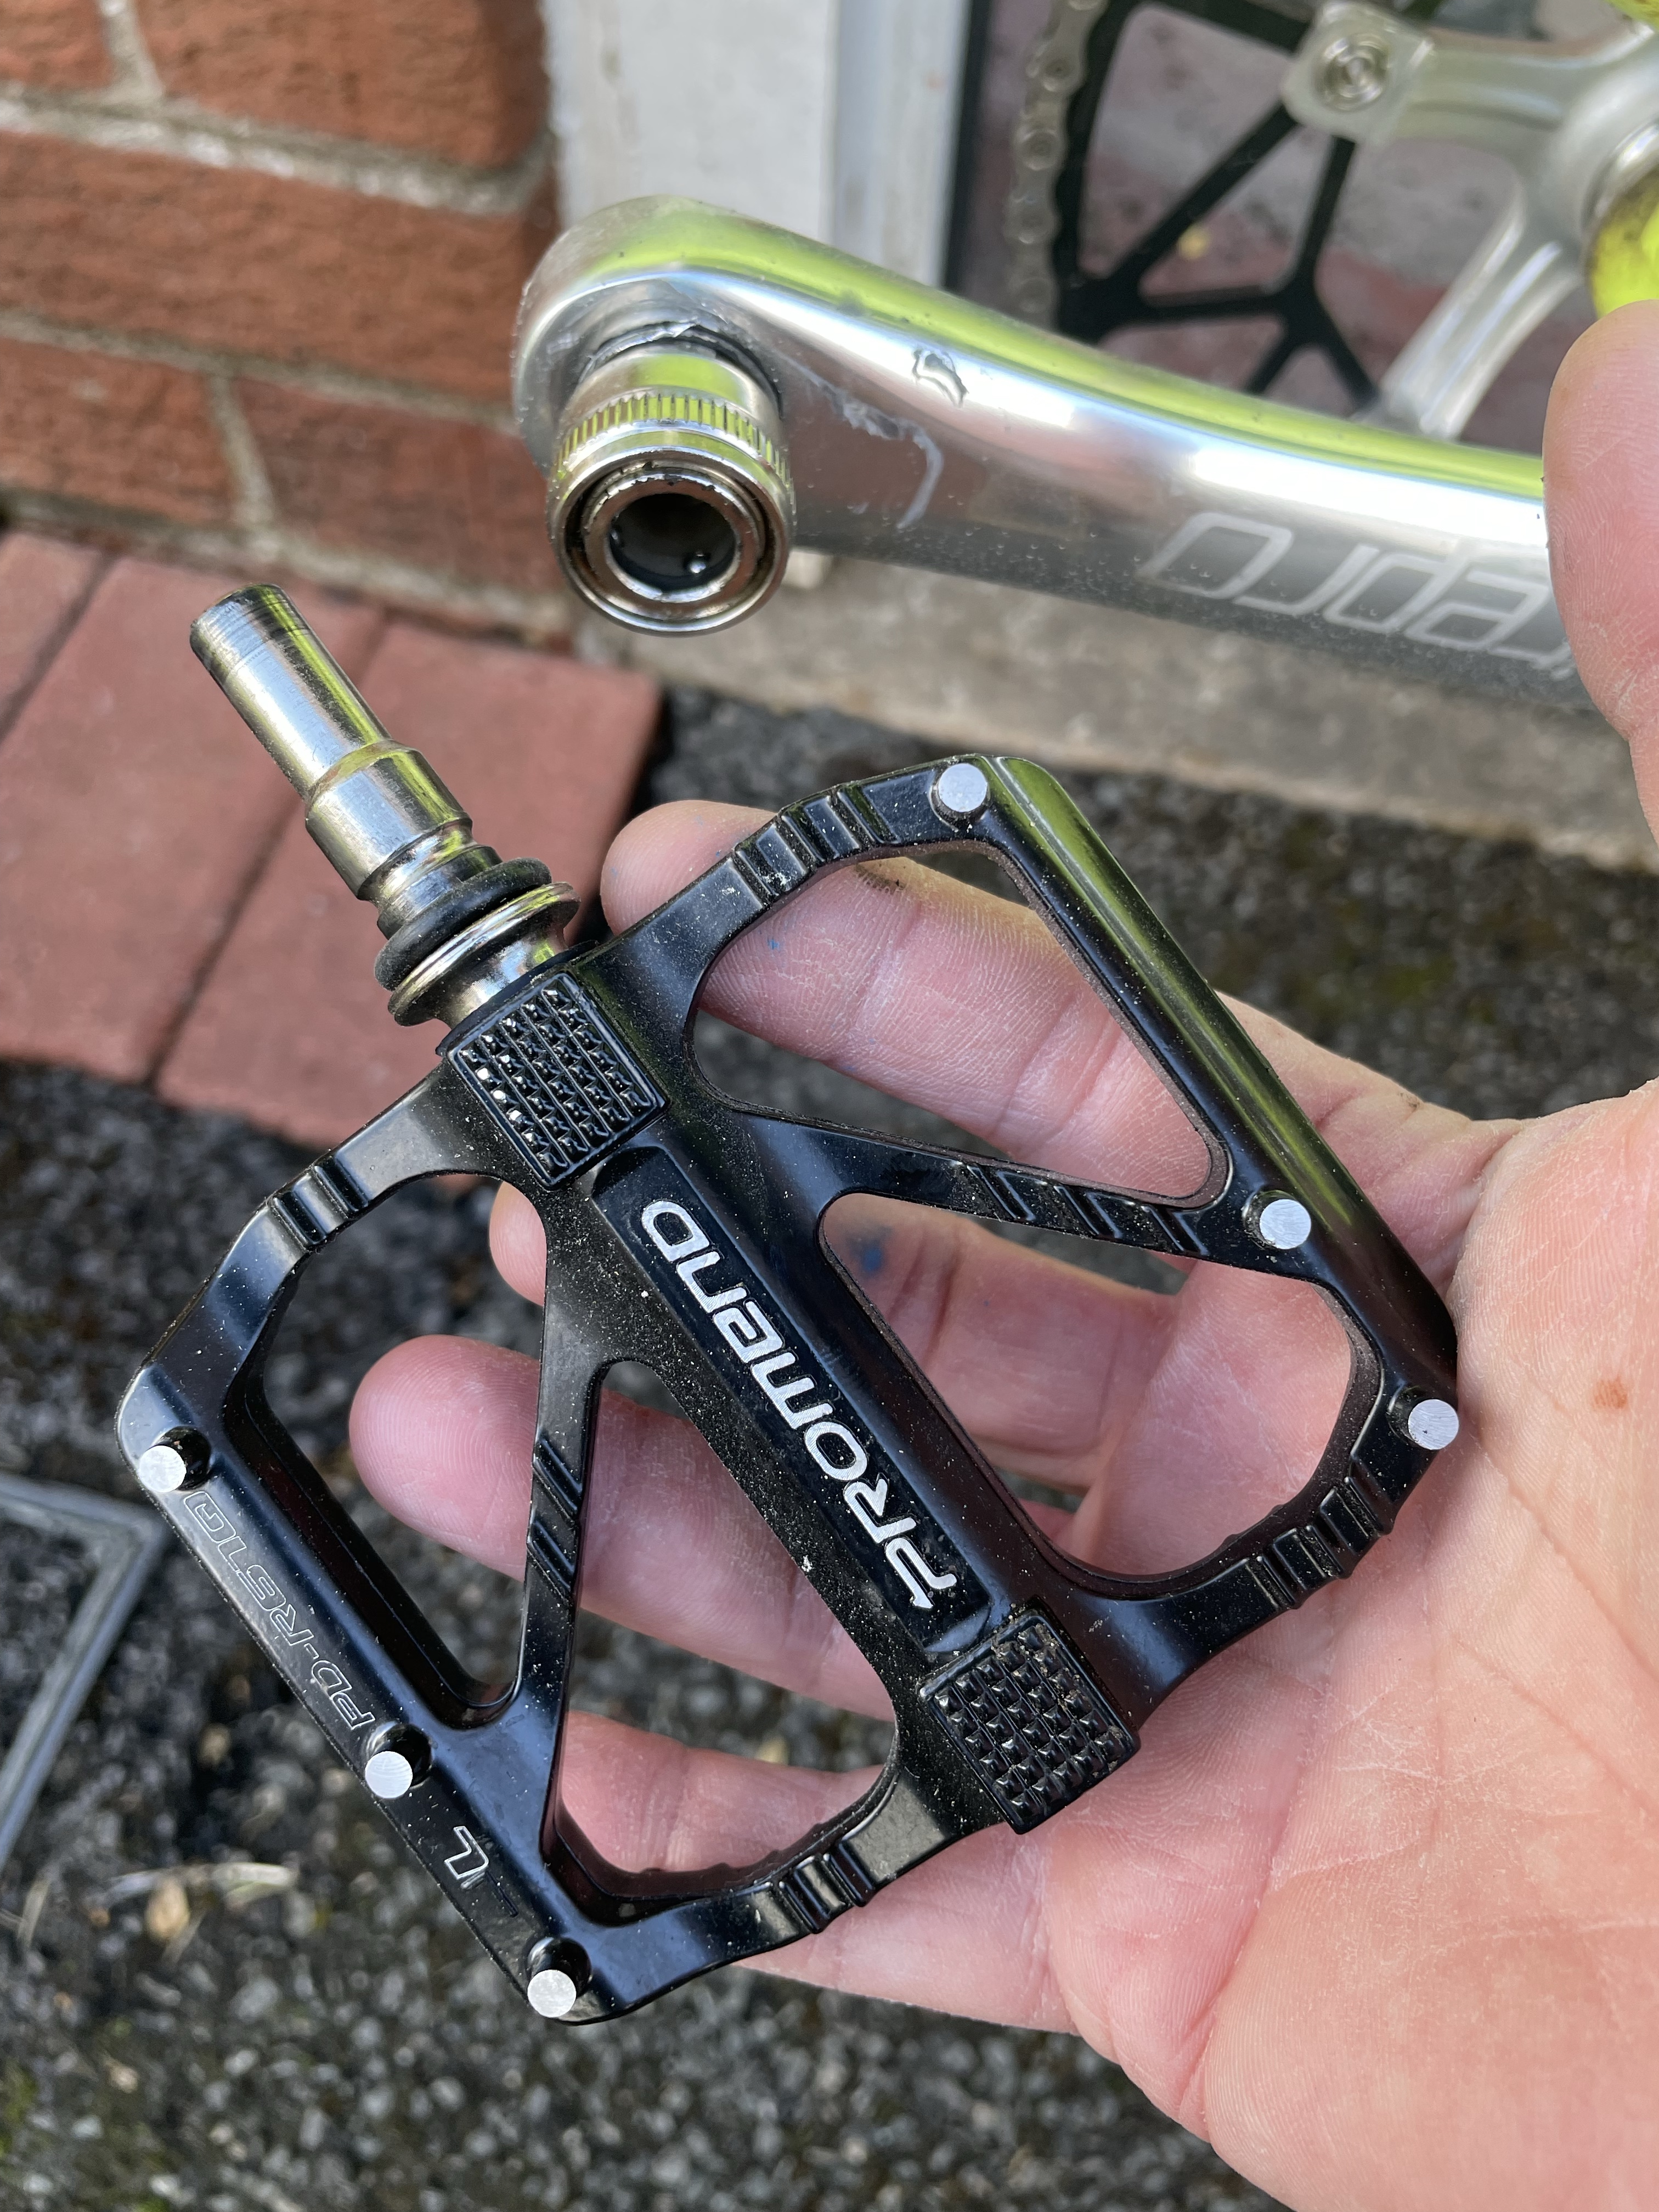
The last addition (eBay again) was a set of removable pedals which went on initially to make the bike fit behind the narrowboats sofa better but have also come in handy as a quick security measure when I nip into a shop and leave the bike propped up outside, no pedals makes it harder for a scurrilous yoof to ride off on it for a laugh, and if one tried I could probably catch him as he tried to scoot away…….
So that’s it, I’m calling this one done for now. Of course these projects are never really finished, I’m quite keen to lose the nasty rear derailleur and go single speed with some sort of chain tensioner, and now the bikes more or less finished I might strip it down this winter and treat the frame to a repaint, but I’m worried it might lose some of its charm if I make it to smart. We shall see…….
